Here is a thing that has happened at virtually every school theatre production in history. A student gets mic'd up, walks offstage, and says something they absolutely would not say into a microphone. And the entire audience hears it.
INFINITY BLOG
Here is a thing that has happened at virtually every school theatre production in history. A student gets mic'd up, walks offstage, and says something they absolutely would not say into a microphone. And the entire audience hears it.
Let's be honest about something. Most school sound systems are not exactly cutting edge. Some of them have been in that auditorium longer than half the faculty. Some of them came with a manual that nobody has seen since the previous tech director left in 2009.
You're three minutes from curtain. The house is full. Parents have their phones out. And then you hear it. That sound. The one that makes every theatre director's eye twitch.
Feedback.
Or maybe a mic just went silent mid-monologue. Or the lead's voice sounds like she's singing from inside a mattress. Whatever it is, it's happening now and you don't have time to call anyone. Here's what you actually do.
Are you keeping up with your A/V equipment? From microphone batteries to wireless frequency scanning, a simple quarterly maintenance routine can prevent costly downtime and keep your systems running smoothly. Read on to find out what to check every three months.
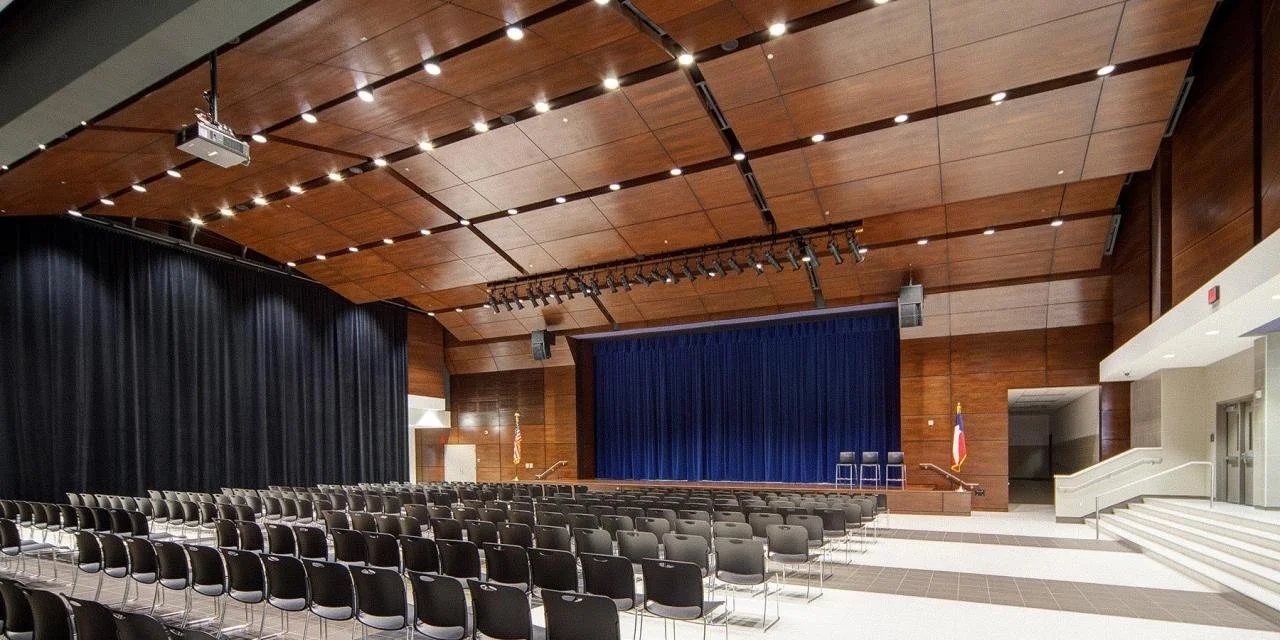
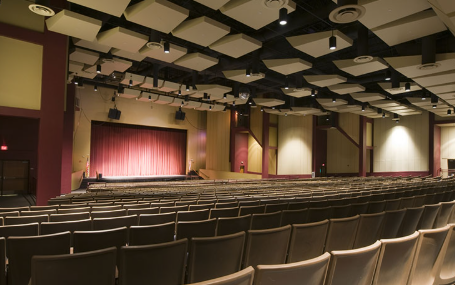
Poor audio quality is one of the most common complaints in public spaces, classrooms, gymnasiums, auditoriums, and meeting rooms. When people hear muddy speech, distracting echoes, or harsh high frequencies, their instinct is often to blame the speakers or the equipment powering them. Surprisingly, audio equipment is often not the root cause of the problem. In many cases, the real issue is the room itself, including its shape, materials, and acoustic behavior.
The City of Cedar Hill, Texas, located just 16 miles southwest of downtown Dallas, has set a new standard for municipal governance technology with its recent council chamber renovation. Working with expert integrator Infinity Sound, what began as a need to replace outdated equipment has resulted in a comprehensive transformation that reflects the city's commitment to modern, efficient public service.
We're pleased to announce that our company has been ranked 19th on the Dallas Business Journal's 2025 Fast 50 list, which recognizes the fastest-growing companies in the Dallas-Fort Worth area.
The audiovisual industry has evolved dramatically over the past decade. Systems are more complex, client expectations are higher, and project timelines continue to compress. Yet one fundamental truth remains: even the most detailed plans and precise drawings can't capture every real-world condition that will impact your installation.
Audiovisual construction projects demand a level of coordination that sets them apart from traditional building work. With 8-10 specialized trades working simultaneously and precise timing requirements, success hinges on carefully planned milestones that keep everyone synchronized and prevent costly delays. Unlike standard construction where trades can work somewhat independently, AV installations require precise sequencing where each phase must be completed to exacting standards before the next can begin.
The audio-visual industry continues to evolve at breakneck speed, and professionals demand solutions that can keep pace with increasingly complex installation requirements. Shure's newest wireless microphone systems represent a significant leap forward in addressing these evolving needs, delivering the reliability, performance, and ease of use that AV professionals have come to expect from the industry leader.
Not every building needs a full gut job to get modern A/V. In fact, many facilities such as schools, city halls, boardrooms, and houses of worship already have solid infrastructure. The bones are good. The cabling is there. The conduit's in place. But the tech? It's stuck in 2009.
As a general contractor, you've likely managed projects with A/V components ranging from simple classroom upgrades to complete auditorium renovations. But here's what many GCs discover too late: not all A/V contractors have the same capabilities, and choosing the wrong partner can derail your project timeline and budget.